9×12 Template Ad Design Tutorial
Section 4:
Changing the Background
Images
This continues from the last section: gradients and colors. If you’re new to layers and layer styles in photoshop, please read the background gradients tutorial first to get up to speed quick.
Ads can look great with an image in the background, either as the whole background or as part of the background with a gradient applied to it so it fades into a color.
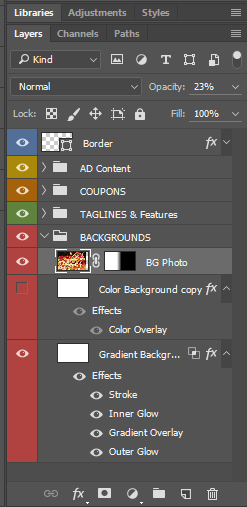
To select the image background layer from the template, simply make it visible by clicking the eyeball next to the image layer:
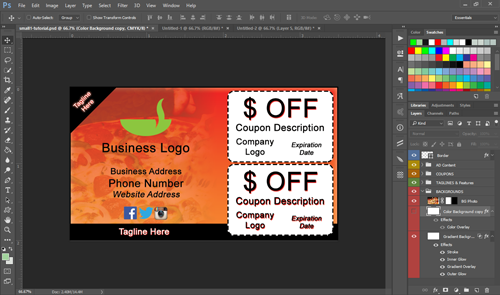
It’s OK to keep either the gradient background or the color background visible too, because it will make the image fade into it. In the template is a stock image of a pizza (which you can change of course), but here’s how it look with an image with a gradient in the background:
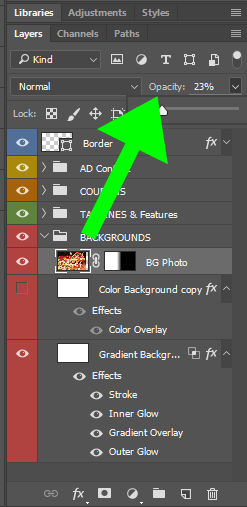
You’ll see that the background image is slightly transparent. That’s because we’ve sent the opacity to a fairly low 23% in the template. You can easily adjust the opacity to whatever you want though, by sliding the opacity slider or entering a percentage here:
Since you’re going to be using your own image in these ads that your client gives you or that you source, I’ll walk you through how to get it imported in make adjustments.
First, you’ll want to preferably use an image that’s in 300dpi resolution and as large as the ad if possible. Because it’s a background image, you can usually get away with lesser quality images if you reduce the opacity and put some color behind it though — just try to get good quality pics to begin with.
Let’s say your client is a spa and have an image like this sourced: http://blueauraspa.com/wp-content/uploads/2015/01/Dollarphotoclub_55997552.jpg
(note: I don’t own this image, I simply searched it in google under images for “spa”, sized large). We’re just going to use this image as an example for reference.

To bring an image into your PSD, first make sure you’ve got your background layer selected (or one of your background sublayers) because you want your image to end up in the backgrounds in this case.
To import the file, you go to file > place embedded. (I believe that in older versions of Photoshop it will just say file > place). When you place an image in, it’ll first want you to size it. You can resize it anytime but if you’d like to resize it now, just click and drag any of the corners — BUT HOLD DOWN SHIFT WHILE YOU DO IT!
Holding down shift when you resize something keeps it all in proportion. If you put your cursor in the image, you’ll see it changes to an arrow type cursor and you can click and drag the image around to move it where you want.
Then when you’re ready, just hit “enter” (or whatever the mac equivalent is).
You can always move and resize an image around anytime by simply clicking on it’s layer, then using the move tool (shortcut V)