9×12 Template Ad Design Tutorial
Section 5:
Entering Company Logo
The company logo is located in the AD CONTENT layer folder here:
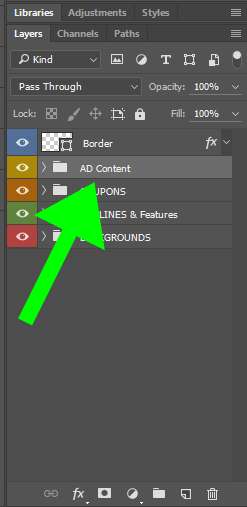
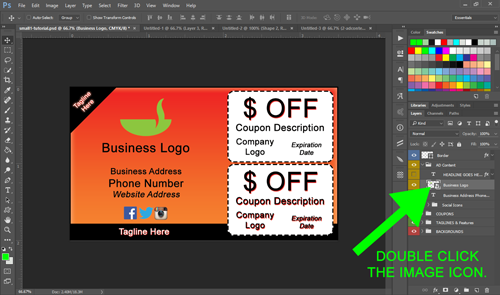
Make sure the eyeball is checked on and go ahead and open the folder (click the little arrow between the name and the eyeball), and you’ll see a sublayer called “Business Logo”. Double click the image picture like below:
A brand new file in photoshop will open in a separate window suddenly:
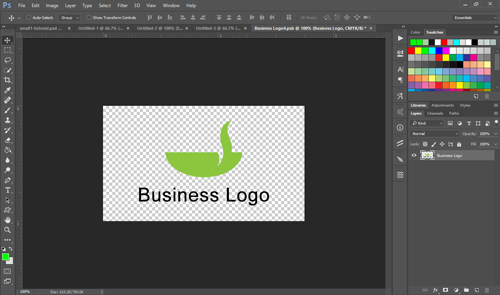
This unique feature is called “smart objects” in Photoshop. Even though you have two separate files now, any changes you make to this second file will automatically update to your main template when you click save. It’s really cool!
Now, in your business logo file that has opened, you can simply delete the stock “business logo” layer by either dragging the layer into the trash can icon at the bottom of the layers panel or you can simply uncheck the eyeball to make it invisible.
Now, use file > embed image (or file > place, in older versions) to bring in your client’s logo.
I did a simple google image search for “pest control” and found a logo that I downloaded:

By transforming the image (ctrl + T) you can resize it to fill the bulk of the canvas, just remember to hold down shift while you resize so that it stays proportional! After resizing, I also moved it a little bit lower just because it fit in the ad better. You can move elements around by using the move tool, the topmost tool on the toolbar (just hit V in your keyboard to go to it quickly).
Here’s where the real magic happens in a smart object, you just save the file (file > save) or ctrl + s, and it will instantly update the main template! Check it out:
![]()
Sure you could just embed an image right into the main template but having it as a smart layer keeps everything contained and better organized.
And no, the stock gradient of the template doesn’t match very well to this logo but that’s what the background tutorials are for. Even just changing the background to white makes this ad nearly ready to go!