9×12 Template Ad Design Tutorial
Section 3:
What’s Included
Each template comes with a bunch of cool stuff that you can add, remove, and modify. This can make each ad look radically different from the original template. Before we go into how to do all the editing, I’d like to familiarize you quick with what’s available.
Your screen should look similar to this:
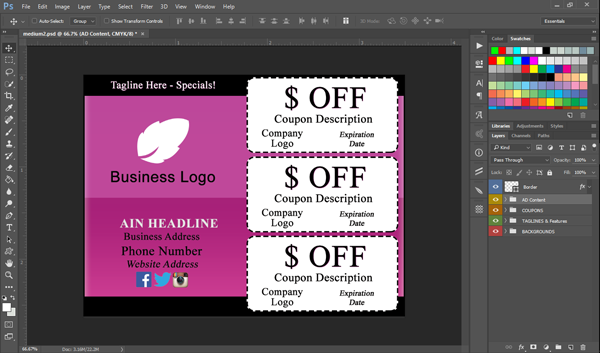
If you’re using Photoshop CS2-CS5 you’ll likely see the background is light grey instead of dark. That’s just a color preference, it’s all the same. You might also notice that some of the panels and windows might be different sizes than what’s in my screenshot, don’t worry.
Look in the upper right of the screen you’ll see where it says “essentials” on my screenshot above. That’s because I selected the preset “essentials” and you might want to too. That just arranges what you’ll need on the screen for basic design work and should match it to how I have here for consistency.
The heart of a PSD is the “layers” panel, which shows where every element of each ad is. You can see it here:
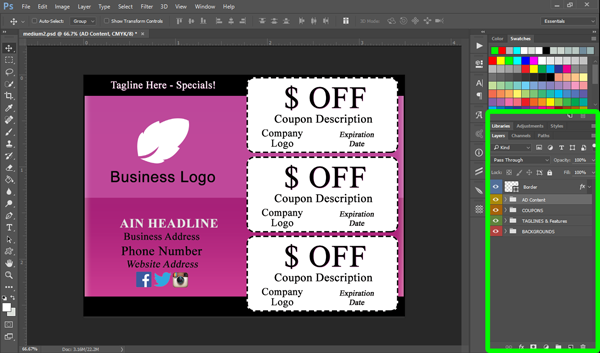
As you can see, there are folders in this layers panel that contain certain parts of the ad. Each layer also has an “eyeball” to the left of it, which simply tells you if it’s visible or not. If you want something to be visible or hidden, just click the eyeball. Try it.
You can also open each layer folder and you’ll see all the individual layers inside each one. The next sections of this tutorial will be showing you how to make changes to these layers but for now I’ll just show you the type of stuff that can easily be done:
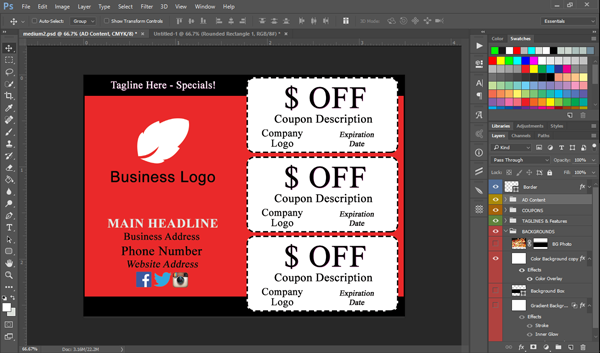
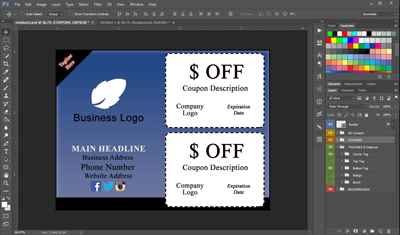
You can Change the Backgrounds
You can change the background color to a different color and maybe a softer type of gradient:
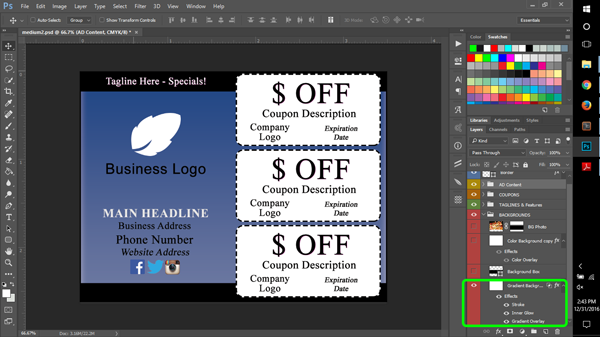
You can also just simply use a solid color instead of a gradient:
You can add an image in the background instead of a solid color, and do things like apply a gradient to it:
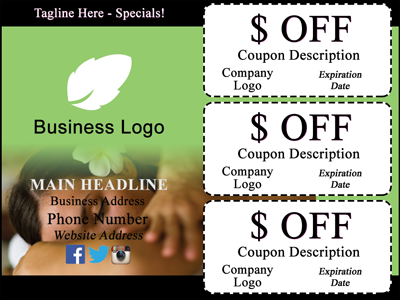
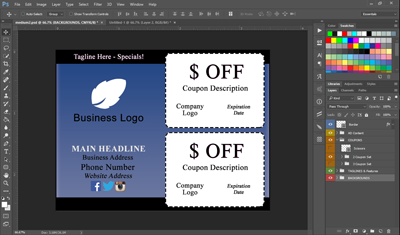
You Can Change the Coupons:
In the “coupons” layer folder, you’ll see that even though it may first show 3 coupons, you can simply switch the layer to the two coupon layer and you’ll have just two.
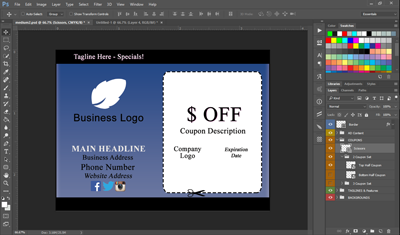
Or eliminate and resize one of them to make one: (and there’s even a ‘scissors’ graphic you an display if you’d like):
Taglines & Features
In the “taglines & features” layer folder you can eliminate the tags and banners, or change them to something like a corner tag for example:
And there’s a burst and badge includeed too.
Logo & Contact Info
Of course the logo and contact info is easily editable as well. Once you’ve got your client’s info put into the ad, and possibly make a few color changes, you’ll see that the look of the template changes dramatically. Here’s an example of a template sample before and after: