9×12 Template Ad Design Tutorial
Section 2:
Getting the Template Ready
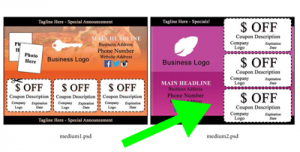
Let’s assume your client has bought a medium-sized ad, #2 from your ad sheet [link]:

First, make a copy.
You don’t want to work on the original template .PSD file. If you do, you won’t be able to use it as a clean template for an ad in the future. So make a copy first and put that copy into a folder that’s just for your client’s ad.
Like most everything in Photoshop, there’s lots of ways to do any one thing. To make a copy:
- Before opening the original template in Photoshop, copy the original .PSD and paste a copy into your client’s ad folder.
- Or, if you’ve already got the original template opened in Photoshop, just click: file > save as, and simply save it as a new file in the location you choose.
If you accidentally modify the original template, it’s still OK, just re-download the templates again from your member dashboard. It might even make sense to keep an extra backup copy of all the templates on your computer (or in dropbox or google drive) just in case you need the fresh originals in a pinch.
Open Your Copied Template
The templates are in PSD, which is called a Photoshop “source” file. When you export your ad for laying out on your 9×12 card so it can be printed, or for sending a proof to your client, you’ll be exporting it as different extensions, like JPG, PNG, PDF, TIF, etc. but for creating an ad, you always want to work with the source file (the PSD).
There’s a few ways you can load a PSD into Photoshop:
- Open the file by double clicking or right clicking it and choosing “open with photoshop” or however you normally open files in your pc or mac’s browser. This will load the PSD into photoshop and you’ll see it pop up in the screen.
- Inside photoshop, you can click file > open.
- You can click and drag it from the explorer right into photoshop if you’ve got PS open already.
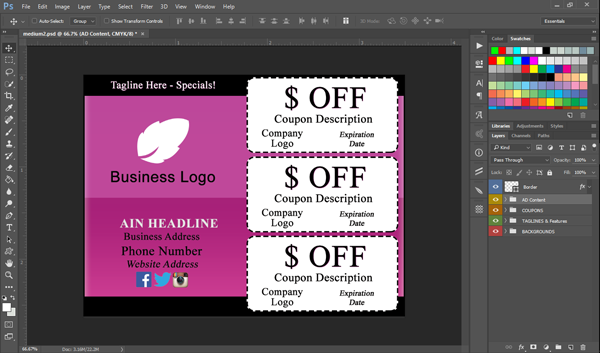
You’ll see something that looks like this:

Don’t worry if the way your Photoshop is laid out differently than mine here, just make sure you see the template pop up. Next, let’s go to the next section: [link here]